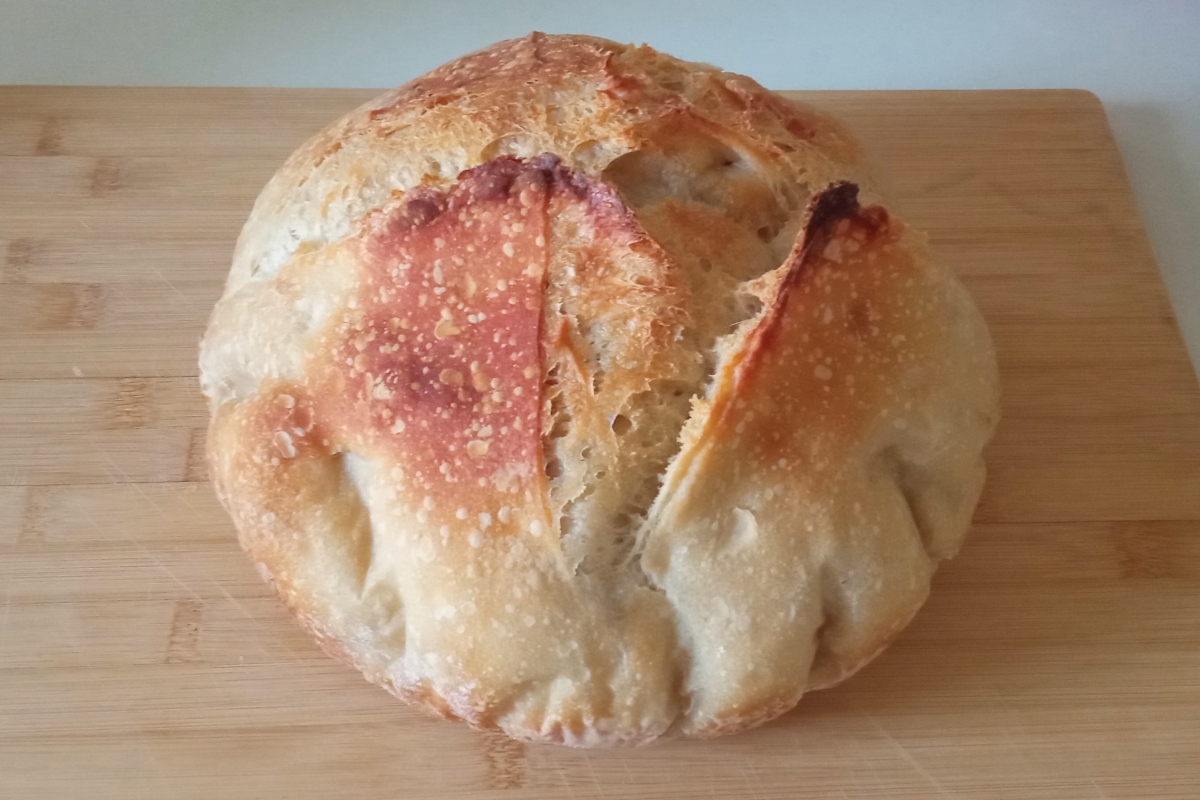
Sourdough Boule: Easy Beginner Round Sourdough Bread

When I first started baking sourdough, the classic sourdough boule—a rustic, round loaf—felt a little intimidating. But after some trial and error, I found a process that works really well for me as a beginner. Over time, I’ve baked boules both with activated starter and with unfed starter. Each method has its own advantages. In this post, I’ll walk you through my step-by-step process for making a sourdough boule with an activated starter. If you’d like to see how I bake a boule using unfed starter, I’ve shared that in this blog post.
Watch my YouTube video on baking this easy sourdough boule here:
Ingredients
For the starter
- 100g white flour
- 100g water
- 25g starter
For the bread
- 350g white bread flour
- 150g whole wheat flour
- 350g water
- 100g activated starter
- 12g salt
The Process: How To Make Sourdough Boule
Step 1: Activate the Starter
Mix 100g flour, 100g water, and 25g starter in a jar. Cover loosely and leave at room temperature for 10–11 hours, until it peaks and is bubbly. This ensures your boule rises well and develops great flavor.
NOTE:
- I like to activate more starter than I actually need for the bread. That way, I’ll always have some discard left over to use for the next starter activation. And with the extra discard, I love making pancakes, crumpets, or other little goodies so nothing goes to waste.
- I also adjust the ratio of starter, flour, and water depending on how quickly I want the starter to peak. Using a higher percentage of starter relative to the flour and water will make it peak faster, while using less starter slows the process down. For more on how changing your feeding ratio affects your starter’s behavior (how fast it peaks, how active it gets), check out this recent trial from King Arthur Baking. It shows how even small changes like going from 1:1:1 to 1:4:4 can influence readiness times.
Step 2: Fermentolyse
In a large bowl, mix 350g white bread flour, 150g whole wheat flour, 350g water, and 100g activated starter. Cover and rest for 30 minutes. This helps the flour absorb the water and starts gluten development.
Step 3: Add Salt
Sprinkle in 12g salt and gently incorporate it into the dough.
Tip: Wet your hands before mixing in the salt—it prevents sticking.
After adding the salt, cover the bowl and let the dough rest for 30 minutes before beginning folds.
Step 4: Stretch and Folds
Perform two sets of stretch and folds, 30 minutes apart.
Tip: Wet hands here too—it makes folding much easier.
Step 5: Coil Folds and Bulk Fermentation
Do one set of coil folds, rest 30 minutes, then repeat another set of coil folds. After that, cover the bowl and place the dough in the fridge for a cold bulk fermentation of 12–24 hours. This slow rise develops deep, complex flavor.
Step 6: Preshape and Shape
Take the dough out of the fridge and gently preshape it into a ball. Cover and rest for 20–30 minutes. Then shape it into a round loaf and place it seam side up in a floured banneton.
Tip: Dust the banneton generously, especially the sides, to prevent sticking.
Let the dough proof at room temperature for about 1.5–2 hours, until risen.
Step 7: Chill (Optional) and Score
At this stage, you can optionally chill the dough in the freezer for 30–45 minutes. I like doing this because it makes scoring much easier and gives cleaner cuts, but it’s not required—if you prefer, you can score the dough right after proofing.
While the dough chills (or while you get ready to bake), preheat your oven and Dutch oven to 450°F (230°C).
Step 8: Bake the Sourdough Boule
Carefully invert the loaf (seam side down) onto parchment paper, score it, and place it into the hot Dutch oven.
Tip: Be very careful here—the Dutch oven is extremely hot.
Spray the dough with water for extra steam. Cover with the lid and bake at 450°F (230°C) for 20 minutes. Then remove the lid, lower the oven to 400°F (200°C), and bake for another 20 minutes until golden brown.
Let the bread cool completely on a wire rack before slicing—resist the urge to cut it while warm!
Final Thoughts on This Sourdough Boule
Making a sourdough boule as a beginner can feel like a challenge, but with practice, it becomes a relaxing and rewarding process. The long fermentation brings depth of flavor, the shaping gives you that rustic round look, and the Dutch oven helps you achieve the perfect crust.
If you want to start your sourdough journey, check out my blog post on how to make a sourdough starter: Sourdough Starter: My First Attempt at Capturing Wild Yeast
Have you tried baking sourdough? Let me know in the comments about your beginner sourdough bread experience!
