Easy Sourdough Bread with Unfed Starter: Simple and Delicious
If you’ve been putting off baking sourdough bread because it feels too complicated or time-consuming, let me show you how approachable it can be. This easy sourdough bread with unfed starter skips the stress of feeding your starter and still produces a beautifully crusty, flavorful loaf. It’s flexible, forgiving, and perfect for anyone looking to make great bread without the rigid rules.
Watch my YouTube video on baking this easy sourdough bread with unfed starter here:
Why I Use Unfed Starter
One of the most freeing things about this method is using an unfed starter—also known as discard or inactive starter. No need to worry about peak activity or planning feedings. I use 20–30 grams of unfed starter depending on how warm my kitchen is and how quickly I want the dough to ferment. This small amount is enough to create a slow fermentation and deep flavor.
Ingredients and Ratios
Here’s how I make this easy sourdough bread with unfed starter:
- 380g white bread flour
- 120g whole wheat flour (you can use any ratio, or go all white flour)
- 12g salt
- 375g water (adjustable depending on temperature and flour type)
- 20g unfed sourdough starter
Note: I fed my starter a week ago and kept it in the fridge. For this bread, I used the unfed starter straight from the fridge, without bringing it to room temperature.
In cooler months, I usually use 400g water and a bit more starter (closer to 30g) to encourage fermentation, but when it’s hot, I reduce the hydration slightly and use less starter (around 20g) to slow things down and make the dough easier to handle.
The Process: How I Make Easy Sourdough Bread with Unfed Starter
Mixing the Dough and Building Strength
I mix everything together in a bowl until a shaggy dough forms, then let it rest for 15 minutes. This rest helps the flour absorb water and makes the dough easier to work with.
Then comes the stretch and folds—a simple technique that strengthens the dough without kneading. I do:
- 3 rounds of stretch and folds, each followed by a 15-minute rest
- 1 round of coil folds at the end (optional—you can stick with stretch and folds if that’s more comfortable)
Tip: Wet your hands before doing stretch and folds or coil folds to prevent sticking.
Shaping and Proofing
After the folds, I leave the dough to bulk ferment until it approximately doubles in size and feels light, jiggly, and bubbly. In my hot kitchen, this took only 6 hours, but it can take anywhere from 8 to 12 hours depending on your conditions.
Once bulk fermentation is done, I turn the dough onto a lightly floured surface and preshape it into a ball. After a 15-minute rest, I shape it into a boule.
Tips:
- Dust your hands to prevent sticking during shaping.
- Generously dust your banneton before placing the dough inside.
- Place the dough seam side up in the banneton for cold proofing.
I cover the banneton with plastic and leave it in the fridge overnight (8–12 hours) for a cold proof. This helps develop deeper flavor and improves the dough’s structure for baking.
Baking the Bread
Before baking, I pop the dough into the freezer for 30 minutes—this makes scoring cleaner and easier. At the same time, I preheat the oven and Dutch oven to 450°F (230°C).
When it’s time to bake:
- Transfer the dough from the banneton to parchment paper.
- Score the dough with a sharp blade.
- Spray the surface with water for a crisper crust.
- Carefully place the dough in the hot Dutch oven (don’t burn yourself!).
- Bake with the lid on for 20 minutes.
- Remove the lid, reduce oven to 400°F (200°C), and bake another 20 minutes.
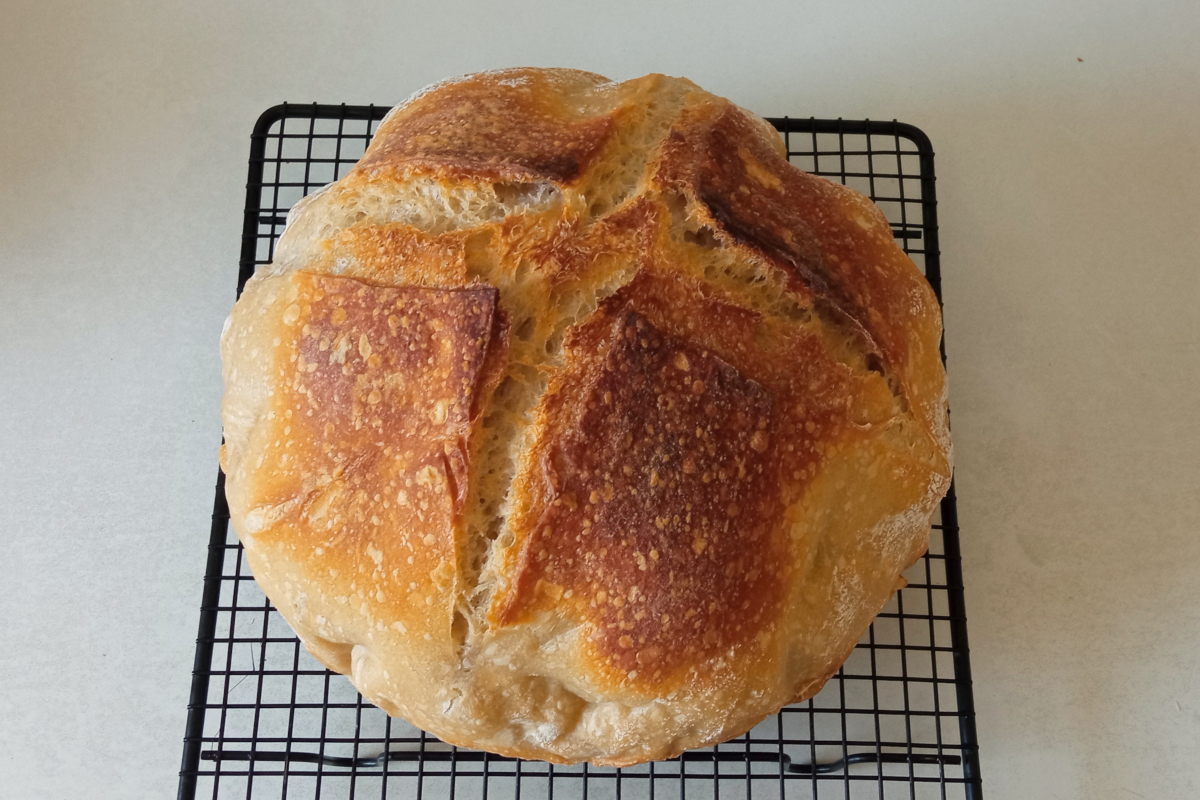
Let the bread cool completely on a wire rack before slicing—resist the urge to cut it while warm!
Final Thoughts on Easy Sourdough Bread with Unfed Starter
This easy sourdough bread with unfed starter has become my go-to when I want a low-effort, high-reward loaf. The process is flexible and forgiving, and once you try it, you’ll see that sourdough doesn’t have to be a big project. You don’t need to babysit your starter or follow strict schedules—just a little understanding of your dough, and you’re good to go.
If you’re new to sourdough or want something less rigid, give this method a try. You might be surprised how easy (and satisfying) sourdough baking can be.
I first learned about this approach from King Arthur Baking’s pain de campagne (country bread) recipe. Their method showed me that sourdough doesn’t have to be complicated or intimidating—you can get great results even with an unfed starter and a flexible process.
If you want to start your sourdough journey, check out my blog post on how to make a sourdough starter: Sourdough Starter: My First Attempt at Capturing Wild Yeast
Have you tried baking sourdough? Let me know in the comments about your beginner sourdough bread experience!