Sourdough Starter: My First Attempt at Capturing Wild Yeast
I’ve always been fascinated by the idea of making bread with just flour, water, and wild yeast. Recently, I decided to take the plunge and create my very first sourdough starter. It was a rewarding experience that taught me patience and the magic of natural fermentation.
What is a Sourdough Starter?
A sourdough starter is a natural leavening agent made by fermenting flour and water. This process captures wild yeast and beneficial bacteria from the environment, which help the dough rise and give sourdough its signature tangy flavor.
The beauty of a starter lies in its simplicity—just two ingredients and time. Once established, it becomes a living culture that can be used repeatedly for baking bread.
Why Make a Sourdough Starter?
Making your own sourdough starter from scratch is not only a rewarding process but also a great way to explore healthier baking. Sourdough bread offers potential health benefits, such as better digestion and improved nutrient absorption, making it a wholesome choice for homemade bread. Learn more about the health benefits of sourdough and why it’s worth making your own sourdough starter from scratch.
Creating a starter also connects you to a traditional art of natural bread baking.The process results in healthier, more flavorful bread compared to store-bought yeast, and it’s a fun kitchen experiment you’ll enjoy mastering!
Key Tips for a Healthy Starter
- Use whole wheat flour: It’s rich in natural microbes, kickstarting fermentation faster.
- Maintain consistency: Feed your starter daily at approximately the same time each day to keep it active and balanced.
- Ideal temperature: Keep the jar in a warm spot, around 21-24°C (70-75°F).
- Use clean tools: Always use clean utensils, a sanitized jar, and washed hands to prevent contamination and spoilage.
- Measure ingredients accurately: Use a kitchen scale for precise measurements, as accuracy is key to a balanced starter.
- Water separation: If water (called “hooch”) separates on top of the starter, it means your starter is hungry and needs to be fed. Simply pour off the liquid or stir it back in before feeding.
- Choose the right jar: Use a clear, wide-mouth glass jar so you can easily observe activity and feed your starter without mess.
- Loosely cover the jar: Cover with a breathable cloth or a lid that’s not fully sealed to allow gases to escape while keeping contaminants out.
- Avoid metal contact: Use glass or plastic for mixing and storing your starter, as some metals can react with the acidity and affect fermentation. I used a wooden chopstick for mixing, as it’s gentle on the starter and easy to clean.
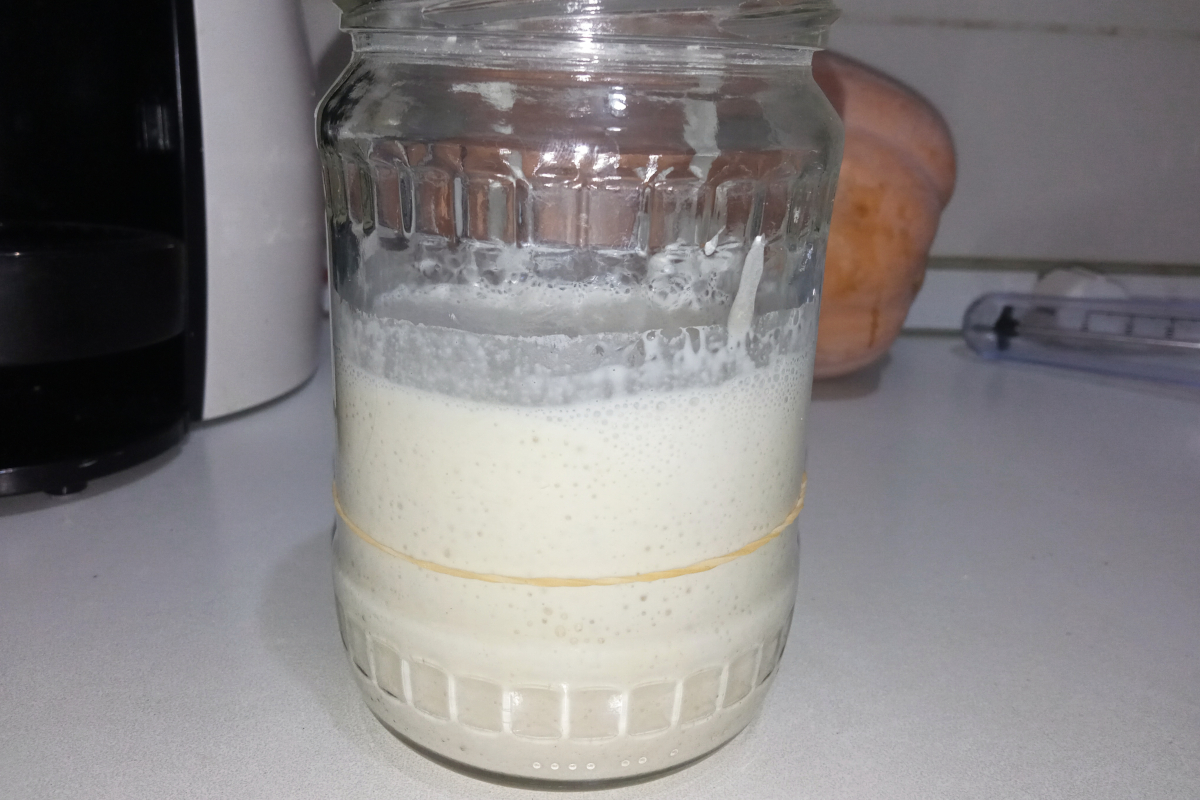
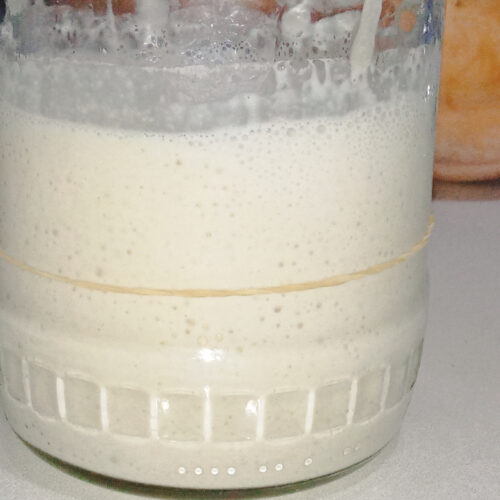
- Track the rise: Use a pen mark, tape, or rubber band around the jar to mark the level of your starter after feeding. This helps you track how much it rises and when it’s ready to use.
- Patience is key: It can take up to a week or longer for a starter to become fully active. Stay consistent and give it time to develop.
Troubleshooting Common Issues
- No bubbles? Try using warmer water or placing the jar in a slightly warmer spot.
- Bad smell? A cheesy or unpleasant smell could indicate too much fermentation. Discard and refresh with a clean batch.
- Mold? If you spot mold, discard the starter and start fresh
How to Store and Maintain Your Sourdough Starter
Proper storage and feeding are key to keeping your starter healthy and ready for baking.
Storing at room temperature (for more frequent baking)
- If you bake several times a week, you can keep your starter at room temperature (21-24°C / 70-75°F).
- Feed it once a day by discarding half and adding equal parts flour and water by weight.
Storing in the refrigerator (for weekly or less frequent baking)
- If you bake once a week, storing your starter in the fridge is ideal. The cold slows down fermentation, so you don’t need to feed it daily.
- Feed it once a week by removing it from the fridge, discarding half, and refreshing it with fresh flour and water. Let it sit at room temperature for a few hours before returning it to the fridge.
Reactivating a refrigerated starter
- When you’re ready to bake, take your starter out of the fridge and feed it once or twice at room temperature. It should double in size and become bubbly before use.
Long-term storage tip: If you need to pause baking for an extended period, you can dry your starter or freeze a portion for later use.
Ready to Start Baking?
Check out the recipe card below for detailed instructions on how to make your own sourdough starter. Give it a try, and share your experience in the comments—I’d love to hear how it goes!
Sourdough Starter
Ingredients
- 50 g whole wheat flour
- 4×50 g white flour (all-purpose or bread flour)
- 5×50 g water
Video
Instructions
Day 1: Mix whole wheat flour and water
- Mix 50g of whole wheat flour with 50g of water in a clean glass jar.
- Stir until fully combined.
- Cover loosely with a lid or cloth, and leave it at room temperature (around 21°C/70°F) for 24 hours.
Day 2: Check for activity and feed the starter
- Check for signs of activity. You may notice small bubbles, but it's OK if you don't yet.
- Mix 50g of white flour with 50g of water and stir until smooth.
- Add 50g of the starter to the mixture.
- Stir well, cover loosely, and leave for another 24 hours.
- Discard the remaining starter.
Day 3: Check for activity and feed the starter
- Look for increased bubbles and signs of fermentation.
- Mix 50g of white flour with 50g of water and stir until combined.
- Add 75g of the starter to the mixture.
- Stir well, cover loosely, and leave for another 24 hours.
- Discard the remaining starter.
Days 4: Feed the starter and treack the rise
- By now, your starter should show bubbles and rise within 4-6 hours after feeding.
- Mix 50g of white flour with 50g of water and stir until smooth.
- Add 88g of the starter to the mixture.
- Stir well, cover loosely, and leave for another 24 hours.
- Discard the remaining starter.
Day 5: Feed the starter and observe the rise
- Your starter should continue showing increased activity, with bubbles and noticeable rise.
- Mix 50g of white flour with 50g of water and stir until combined.
- Add 94g of the starter to the mixture.
- Stir well, cover loosely, and leave for another 24 hours.
- Discard the remaining starter.
Notes
- It consistently doubles or increases in size within a few hours after feeding.
- It smells pleasantly tangy.
- It’s full of bubbles.
- Continue feeding it daily with the same ratio of flour and water (feed 100g of starter with 50g of flour and 50g of water).
- Keep it in a warm spot around 21-24°C (70-75°F).
- Patience is key! Some starters take up to 7-10 days to fully mature, depending on the temperature and flour used.
Once you’ve mastered sourdough, try my easy Vanilla Muffins Recipe for a different kind of baking fun.